First I removed the 4 black screws in the rear panel taking care not to lose the washers as well (see image 1). Then I removed the 12 screws in the bottom panel, as well as the stand mount (see image 2). Then I carefully removed the back-panel, aided by gravity, but taking particular care with the three bits at the rear end (where the 4 black screws were).
Then I connected the power, turned on the unit, and swapped the battery while it was powered on so that my settings were preserved.
My unit which is nearly 10 years old had been intermittently reporting "battery low!", and when I measured the old CR‑2032 battery it was 2.867V.
 |
| Image 1 (rear panel) |
 |
| Image 2 (bottom panel) |
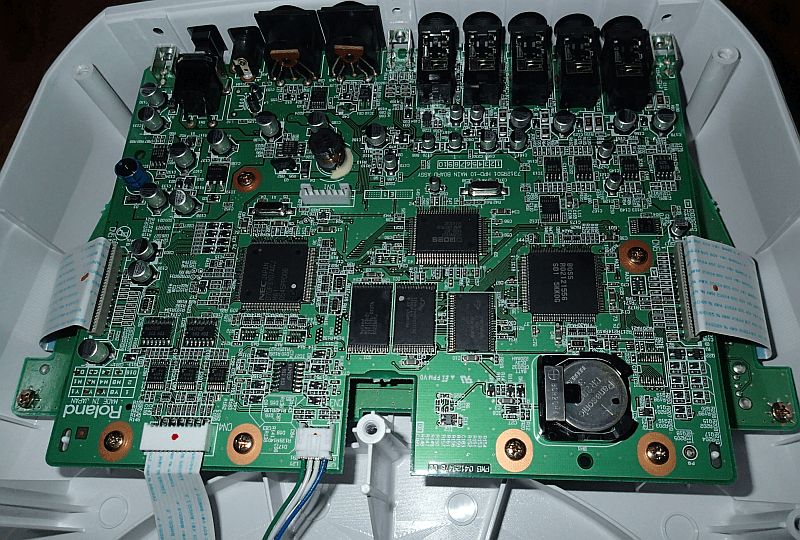
 |
| Image 3 (inside the HPD-10) |
 |
| Image 4 (inside the HPD-10) |
UPDATE 2022-04-05: Thank you Chnucki Erdbeer for putting this on YouTube https://youtu.be/dJhGQ8EO9F4